Tuesday, 26 March 2013

Apple Crumble

Apple crumble is a dish usually served in the fall to celebrate the harvest. Every great dessert expert needs a good apple crumble recipe. Apple crumble is also sometimes known as apple crisp. It can be eaten year round, for breakfast, lunch or dinner. It's hard to turn down a warm piece of apple crumble topped with your favorite vanilla ice cream. This one happens to be simply delicious!


I have taken a break from blogging for the past week, I have been so busy working on my cookbook, and other homework that I haven't been able to blog about all the lovely things I have made! So what a great way to get back into the groove of things by sharing with you this lovely apple crumble recipe. This is the first  time I have made this one but I honestly couldn't get enough of it!

Yields: 1 dish (serves about 6)
Prep time: 20 minutes
Total time: 55 minutes

Ingredients

For the Crumble:
1 1/3 cups all-purpose flour
1/4 teaspoon of cinnamon
1/2 cup butter
1/4 cup brown sugar

For the Filling:
1 1/2 pounds (about 6) macintosh apples, peeled, cored and sliced thinly
1/8 cup sugar
1/4 cup apple or orange juice 

Directions

1. Preheat oven to 350F. Butter an oven safe casserole dish. It should be about 8 x 11 inches and at least 3 inches deep. The size is not that important as you can make an extra dish with any left over filling and crumble. 

2.  Sift flour and cinnamon in a large bowl. Add the softened butter into the flour and cinnamon mixture, and stir well. Rub the butter into the flour with your fingers until the flour has completely absorbed the butter and I looks like bread crumbs. Then stir in brown sugar.

3. Wash and peel your apples using a potato peeler. Slice the apples into small wedges, or cube them up. Either way is fine. Put the chopped apples in a separate bowl and sprinkle sugar over them, mix well. Spoon the apples into your dish and pour the juice over them. Cover with crumble and bake for 35-40 minutes or until the top is golden brown. 

4. Let cool for 10 minutes and them serve with ice cream or on its own. Enjoy!

Wednesday, 13 March 2013

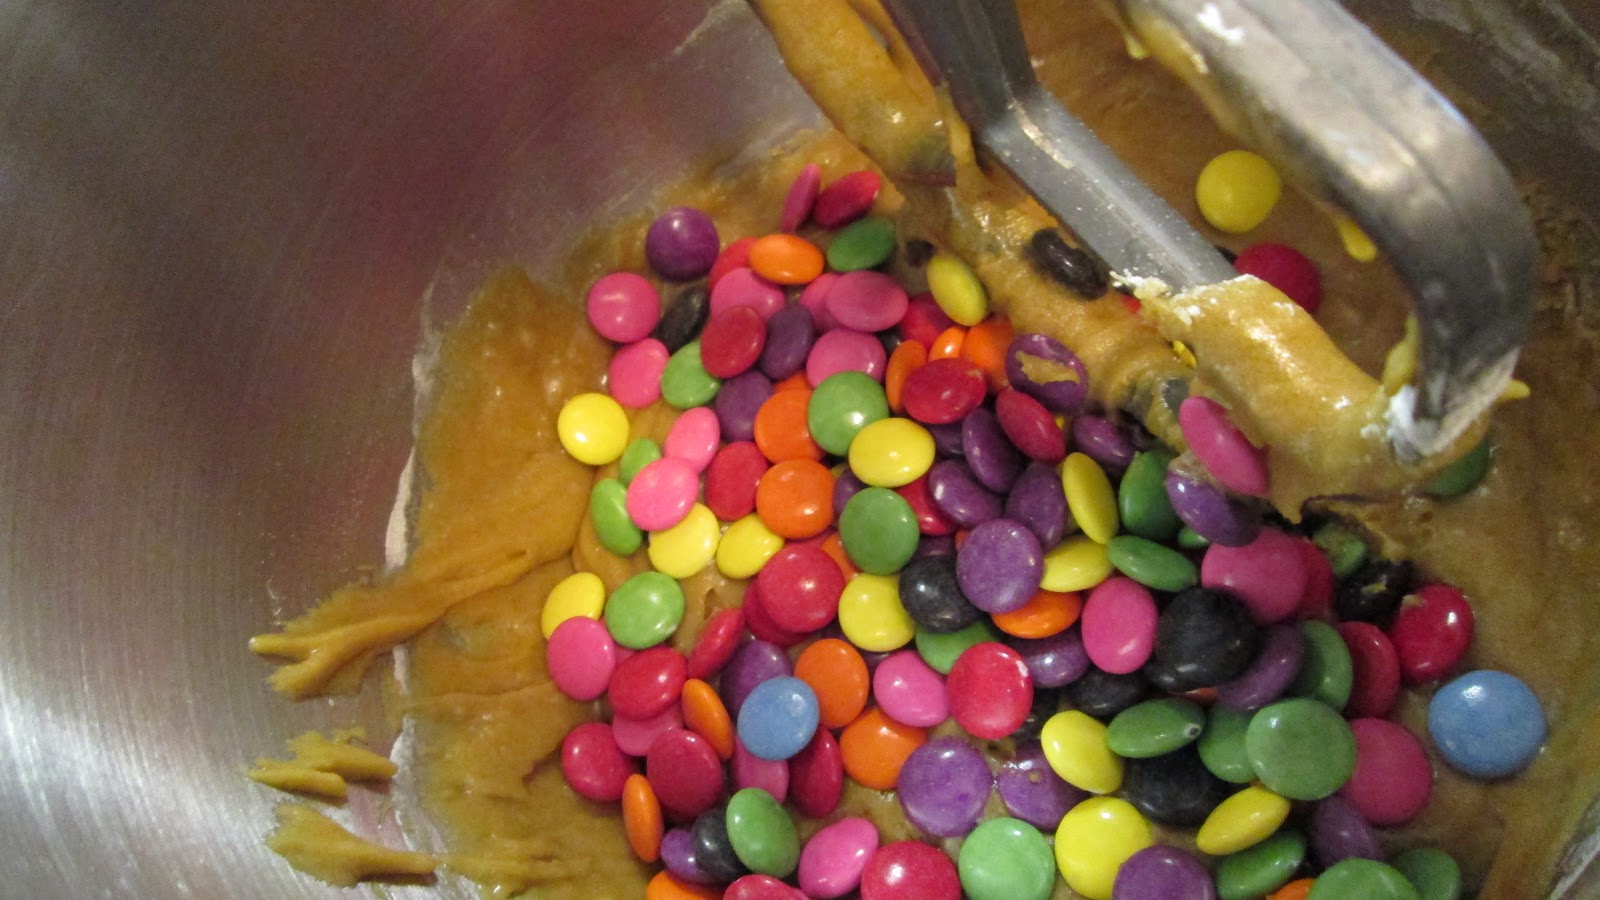
Study Time Smartie Cookies

These will bring out the smarty pants in you! Chewy cookies really hit the spot when you are studying. As a student myself, I would like to dedicate this recipe to all the students who stay up late studying. These cookies might as well be called energy bars cause they definitely have the power to get you through those draining study sessions.   
   

This recipe made about five dozen cookies and to be honest... between me and my mom, they were finished in about one and a half days. That is just how good they were. These are the cookies that one dreams about floating alongside sugar plums on Christmas Eve! So congratulations on finding this recipe, I will warn you though... they won't last long!

Yields: 5 dozen
Prep time: 10 minutes 
Bake time: 8 minutes

Ingredients 
          • ⅔ cup melted butter
          • 2 cups lightly packed brown sugar
          • 2 eggs
          • 2 tablespoons hot water
          • ½ teaspoon vanilla
          • 2⅓ cups all-purpose flour
          • 1 teaspoon baking powder
          • 1 teaspoon baking soda
          • ¼ teaspoon salt
          • 1 package of smarties (about 200 grams)

Directions

1. Preheat oven to 375 F and line two sheets with parchment paper.

2. Beat melted butter, brown sugar, eggs, hot water and vanilla until very smooth (2-3 minutes).

3. In a medium bowl combine flour, baking powder, baking soda and salt. Add all the dry ingredients to the butter, sugar, eggs, water and vanilla. Mix well. Stir in the smarties and roll 1 inch balls of dough with 12 cookies per sheet.

4. Bake for 8-9 minutes. Happy studying! 


Inspired by: http://hiddenponies.com/2011/02/cookie-monsters/


Monday, 11 March 2013

Homemade Peanut Butter Bites

These little peanut butter bites are super easy and they taste just like the Reese's Peanut Butter Cups. These little guys are a no-brainer!


 I made these one day while I had a cheesecake was in the oven. They were pure experimentation but they turned out pretty awesome. You might recognize the melted chocolate recipe from an earlier post on chocolate covered almonds.


Yields: 12 small bites 
Prep time: 5 minutes
Total time: 20 minutes

Ingredients
  • 1/3 cup natural peanut butter (no additives)
  • 1/3 cup confectioners sugar
  • 1/3 cup all-purpose flour
  • 1/2 cup semi-sweet chocolate chips
  • 1/2 tablespoon canola oil
Directions

1. Prepare a plate with a sheet of wax paper on top for the peanut butter bites to be rested on.

2. In a small bowl mix together peanut butter, confectioners sugar and flour. Mix until combined and set aside.

3. In a microwave safe bowl, put the chocolate chips and canola oil in the microwave and heat for 20 seconds. Stir and heat for another 20 seconds. Stir again and then give it another 20 seconds if needed.

4. Roll the peanut butter mixture into small 3/4 inch balls and dip in chocolate using a spatula or spoon. Rest each one on the wax paper.

5. Refrigerate for 15 minutes. Store in the refrigerator for up to 5 days.


Lemon Poppy Seed Muffins

Lemon poppy seed muffins are delicious. They are easy and perfect for winding down after a long day. 
 I just love these, especially the glaze on top. I made these for my aunt who just had a baby boy and she really liked them! They make a great snack with tea or for breakfast.

Yields: 12 standard muffins / 24 mini muffins
Prep time: 15 minutes
Total time: 60 minutes

Ingredients
For the Muffins
  • 1/2 cup butter, softened
  • 2 eggs
  • 3/4 cup sugar
  • 3 tablespoons lemon juice
  • 1 teaspoon lemon zest
  • 1 1/2 cups all-purpose flour
  • 1 1/2 teaspoons baking powder
  • 3/4 teaspoon salt
  • 1 tablespoon poppy seed
  • 1/2 cup milk
For the Glaze
  • 1/3 cup powder sugar
  • 1 1/4 tablespoon lemon juice
Directions

1. Preheat oven to 375 F and line muffin pan with muffin liners.

2. In bowl of electric mixer combine butter eggs and sugar, stir until creamy. Add lemon juice and lemon zest stir until combined. Add the remaining ingredients to the mixture and stir on low until combined. Be careful that you don't over mix!

3. Spoon the batter into the muffin liners or greased pan.  Bake for 18-25 minutes. 

4. While the muffins are I the oven you can start on the glaze. In a small bowl mix the powdered sugar and lemon juice until combine.

5. Let the muffins completely cool before you pour the glaze on.


This recipe was inspired by: http://www.missinthekitchen.com/2013/01/19/meyer-lemon-poppy-seed-muffins/

Sunday, 10 March 2013

Classic Cheesecake

Cheesecake is loved all around the world for its sweet and creamy taste. This dessert dates all the way back to Ancient Greece, in 2,000 BC. It was served to athletes of the first Olympics and it was commonly served at weddings. Now cheesecake is known worldwide and there are many different variations. This recipe is the best cheesecake I have every made and I hope that you enjoy it too.

 Every now and then my Dad will go away on business trips for his work. This time he got to go to sunny Arizona for a week. How awesome is that, while Ma and the rest of my family where stuck in the cold March weather, he got to be tanning in Arizona! I wanted to make him a welcome home cake and he loves cheesecake so I decided to try this one out! He loved it. We all did!

Yields: 1 cake
Prep time: 10 minutes
Total time: 90 minutes

Ingredients
For the Filling
2 8 oz. packages of cream cheese, softened
2/3 cup sugar
3 eggs
1/2 teaspoon vanilla extract

For the Crust
1/3 cup brown sugar
1 cup crushed graham crackers
1/2 cup butter, melted
Directions

1. Preheat oven to 350 F. Spray a 9-inch pie dish with cooking spray. 

2. In a small bowl mix together brown sugar, graham cracker crumbs and butter. Combine until the crumbs have absorbed all of the butter. Press the crumbs onto the bottom of a 9 inch glass pie dish with the bottom of a cup.

4. In the bowl of an electric mixer, mix together cream cheese, sugar, eggs and vanilla until smooth. Pour into prepared pie dish and bake for 30 minutes.

5. When the pie is done, let it cool completely before you add any topping. 

6. For the toppings you can cut up fresh fruit or you can keep it simple with canned cherries that I used here.


Banana Peanut Butter Smoothie


Smoothies are so yummy and this will definitely hit the spot when you are hungry after a long day or when you have finished a workout. It is my go to snack between meals or on a hot summer day.


I have been making these smoothies for ever, when ever I go out for a run I always whip up one of these when I come back. They make you feel like you just have eaten a big slice of banana bread. And not only is this a heathy treat, but it is super simple as well!

Yields: 2 servings
Prep time: 1 minute
Total time: 2 minutes

Ingredients
  • 1 banana
  • 1  cup milk
  • 6 ice cubes
  • 2 tablespoons peanut butter
Directions

1. Put all of the ingredients in the blender.

2. Shut the lid on top and blend for 1 minute. 

3. Serve into 2 glasses and enjoy!

Monday, 4 March 2013

The Perfect Banana Bread

To find a good banana bread recipe is like finding a diamond in a hay stack. It takes a lot of experimenting to find the perfect one. This is by far the best banana bread I have ever made.

For me banana bread is a summer thing. I would eat it a lot when my family would go to our cottage in the summer and in the morning we would have this for breakfast. But I think that banana bread should be a year round thing. Especially after I tried this recipe! 

Yields: 1 loaf
Prep time: 8 minutes
Total time: 1 hour

Ingredients
1/2 cup butter
1 cup sugar
2 eggs, beaten
4 bananas crushed
1-1/2 cups all-purpose flour
1 teaspoon baking soda
1/2 teaspoon salt
1/2 teaspoon vanilla

Directions
1. Preheat oven to 350F and spray a loaf pan with cooking spray and then line with parchment paper.  

2. Cream together butter and sugar with your electric mixer. Use a blender to mash the banana if it isn't fully ripe yet. Add eggs, vanilla and banana. Mix until combined.

3. In separate bowl combine flour, baking soda and salt. Turn mixer to low and gradually mix in dry ingredients. Try not to over mix or it will make the loaf tough.

4. Pour into lined loaf pan and bake for 70 minutes or until a knife or skewer comes out dry. Cool completely and serve.  

Originally from food.com