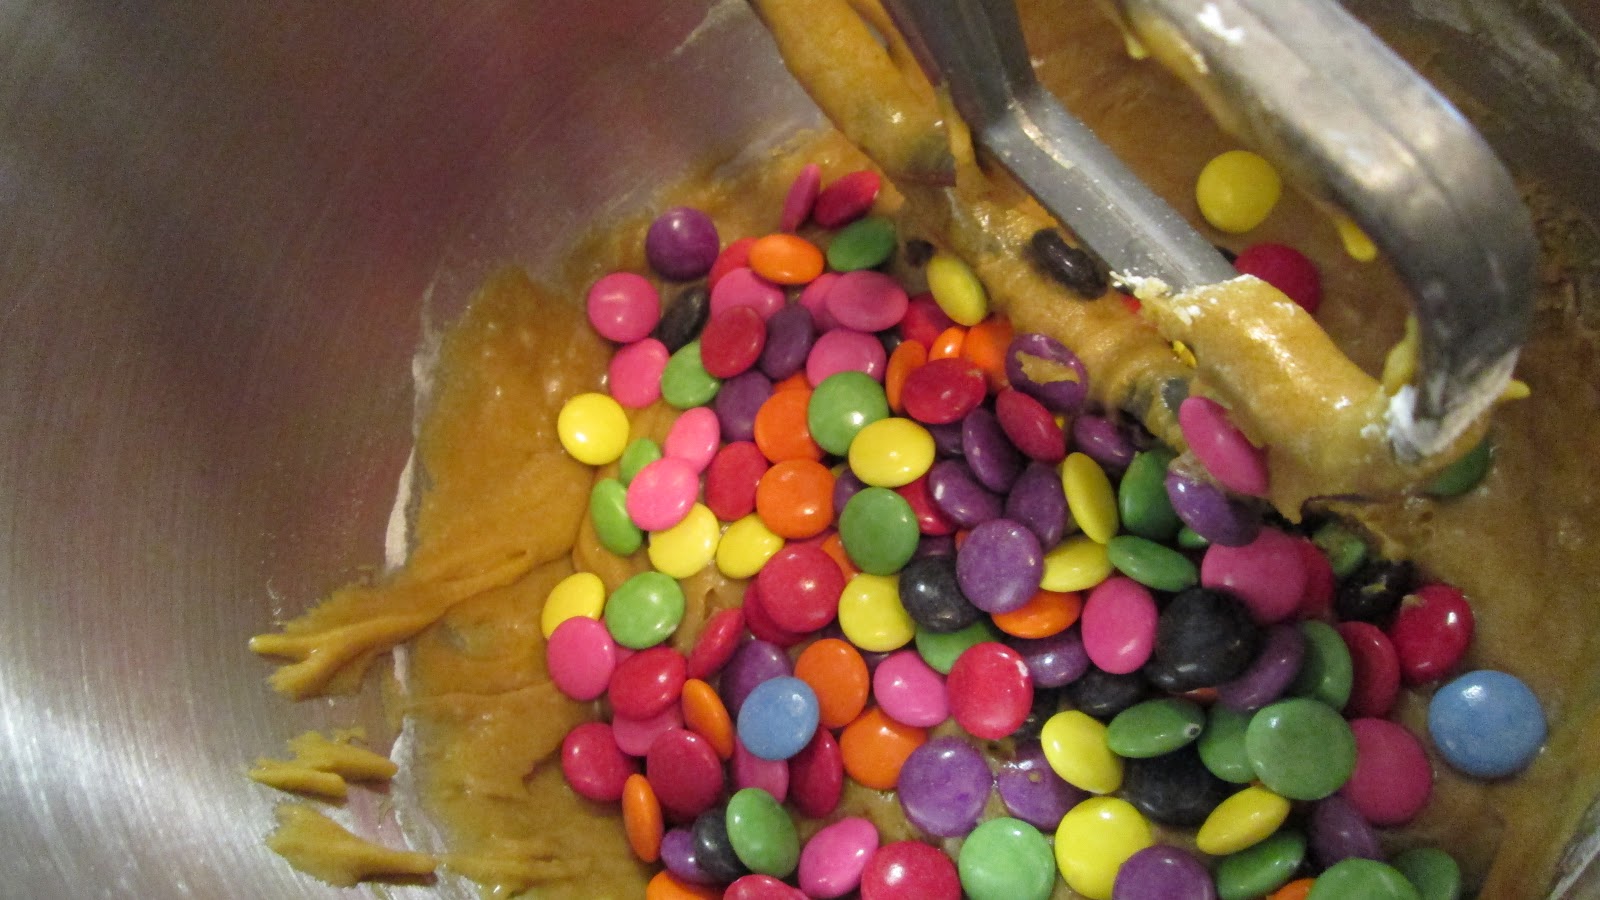
At first I had made these Smartie cookies, and they were really good. But just recently I tried the same recipe but with M&M's. So here's the verdict... Don't get me wrong! I love M&M's, I personally think that they taste better and they also have better colours, but when they were baked they weren't as good as the smarties where. They tasted kind of funny, but the smarties tasted even better then they did on their own! So next time you can't decide which one to use, now you know.
Showing posts with label desserts. Show all posts
Monday, 8 April 2013
Smarties vs M&M's
Both of these candies are really delicious but when you make them with cookies is there one that is better to use? Well I was curious to which one works best when baking.
At first I had made these Smartie cookies, and they were really good. But just recently I tried the same recipe but with M&M's. So here's the verdict... Don't get me wrong! I love M&M's, I personally think that they taste better and they also have better colours, but when they were baked they weren't as good as the smarties where. They tasted kind of funny, but the smarties tasted even better then they did on their own! So next time you can't decide which one to use, now you know.
Labels:
baking tips,
candy,
chewy cookies,
cookies,
desserts,
naking,
teens bake
Tuesday, 26 March 2013
Pavlova
This interesting dessert originated in Australia and was made to celebrate the visit from a Russian ballerina called Anna Pavlova. It is basically a twist on the classic meringue but instead of tiny bites sized meringues this is a giant meringue, topped with whipping cream and fresh fruit.
When I tried this recipe again it turned out great and was easier then I had thought it would be. This really taught me that it is completely healthy to make mistakes and the results are often worth it. Like one of my favorite childhood television shows always says, "Take chances, make mistakes and get messy".
Yields: 1 cake
Prep time: 20 minutes
Total time: 1 hour
Ingredients
Total time: 1 hour
Ingredients
2 egg whites
1 teaspoon cornstarch
1 cup sugar
1 teaspoon fresh lemon juice
1 teaspoon vanilla extract
6 kiwis, sliced (or your choice of fresh fruit)
1 cup whipping cream (or Cool Whip, thawed)
1 teaspoon fresh lemon juice
1 teaspoon vanilla extract
6 kiwis, sliced (or your choice of fresh fruit)
1 cup whipping cream (or Cool Whip, thawed)
Directions
1. Position a rack in the lower third of the oven. Preheat the oven to 300F. Line a baking sheet with parchment paper and draw a 9-inch circle with a pencil on the paper. This will act as your guide lines for the meringue.
2. In the bowl, use an electric hand mixer to beat egg whites until they are well mixed. Add in cornstarch and the mix until white and foamy. Gradually add the sugar and continue beating until stiff, shiny peaks start to form. Quickly add in lemon juice and vanilla.
3. Spread the meringue inside the circle you have drawn and build up the edges of the pavlova to form a rim. Bake for 40 minutes or until crispy. Important - Turn off the oven and open he door, letting the pavlova completely cool before you take it out of the oven. This keeps the meringue from cracking from the change in temperature. When cooled remove from oven and top with the whipping cream that has been whipped with a whisk attachment until stiff peaks have formed. For some reason this would not work for me so in the end I used some thawed Cool Whip.
4. Peel and slice the kiwis into thin slices and arrange in a pretty pattern on top of the cake. Let it sit for 10 minutes before you serve it to let the centre soften a bit. Keep in the refrigerator until ready to serve and keep cool.
Adapted from William Sanoma The Best of Kitchen Library: Desserts
Wednesday, 13 March 2013
Study Time Smartie Cookies
These will bring out the smarty pants in you! Chewy cookies really hit the spot when you are studying. As a student myself, I would like to dedicate this recipe to all the students who stay up late studying. These cookies might as well be called energy bars cause they definitely have the power to get you through those draining study sessions.
This recipe made about five dozen cookies and to be honest... between me and my mom, they were finished in about one and a half days. That is just how good they were. These are the cookies that one dreams about floating alongside sugar plums on Christmas Eve! So congratulations on finding this recipe, I will warn you though... they won't last long!
Yields: 5 dozenPrep time: 10 minutes
Bake time: 8 minutes
Ingredients
- ⅔ cup melted butter
- 2 cups lightly packed brown sugar
- 2 eggs
- 2 tablespoons hot water
- ½ teaspoon vanilla
- 2⅓ cups all-purpose flour
- 1 teaspoon baking powder
- 1 teaspoon baking soda
- ¼ teaspoon salt
- 1 package of smarties (about 200 grams)
Directions
1. Preheat oven to 375 F and line two sheets with parchment paper.
2. Beat melted butter, brown sugar, eggs, hot water and vanilla until very smooth (2-3 minutes).
3. In a medium bowl combine flour, baking powder, baking soda and salt. Add all the dry ingredients to the butter, sugar, eggs, water and vanilla. Mix well. Stir in the smarties and roll 1 inch balls of dough with 12 cookies per sheet.
4. Bake for 8-9 minutes. Happy studying!
Inspired by: http://hiddenponies.com/2011/02/cookie-monsters/
Saturday, 23 February 2013
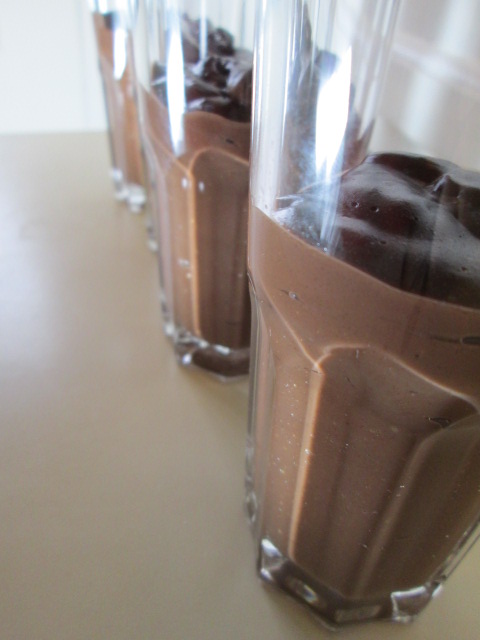
Rich Chocolate Pudding (microwave)
This tasty pudding is quick and easy. It tastes great and will never let you down.
I made this for my family one night, we had all decided on something chocolaty. So I made this, it was a big hit and it took no time at all! It's smooth and delicious and very rich! The perfect pudding!Yields: 4 serving (1/2 cup)
Prep time: 2 minutes
Total time: 6 minutes
Ingredients
- 3 tablespoons cornstarch
- 1/3 cup sugar
- 2 cups milk
- 1/3 cup unsweetened cocoa powder
- 1 teaspoon vanilla
1. Combine cornstarch, sugar and cocoa powder in 4 cup microwave safe glass bowl, whisk together until combined.
2. Add the milk and vanilla and whisk again.
3. Microwave for 2 minutes on high in your microwave then whisk.
4. Microwave again for 1 minute and whisk then another minute and whisk. (add more or take away microwave time depending on the power of your microwave)
5.Pour into 4 serving cups immediately after you take out of the microwave.
6.Top with bananas or other fruit, how about this Sweet Raspberry Sauce!
Inspired by: http://www.food.com/recipe/super-fast-and-easy-microwave-chocolate-pudding-335601?oc=linkback
Labels:
chocolate,
dessert,
desserts,
easy sweets,
microwave,
microwaveable,
nice,
pudding,
quick desserts,
sweet,
yummy
Monday, 18 February 2013
Chocolate Salted Almonds
These sweet chocolate covered almonds are a great ice cream topper or a treat on their own. They make a great gift and that kick of salt make them hard to forget.
I made this dessert out of pure creativity and some leftover chocolate sauce from a macaroon recipe. I had extras on a chocolate drizzle and decided to put it to good use. I was craving some chocolate covered almonds and figured i would make some! I felt like a real chocolatier when i was making these, even though they were super duper simple!Yields: 2 dozen
Prep time: 5 minutes
Total time: 20 minutes
Ingredients
- 1/2 cup of semi-sweet chocolate chips
- 1/2 tablespoon of canola or vegetable oil
- Cracked sea salt
- Your favourite vanilla ice cream
Note: If you want to make more or less of the sauce you can adjust the ratios of the chocolate chips and oil to fit the amount of sauce that you need.
Directions
1. Combine the chocolate chips and oil in a microwave safe bowlmicrowave for 3 sets of 20 second intervals. Stirring in between intervals.
2. Take the almonds and roll them in the bowl. Take out and rest on a sheet of wax paper on a plate.
3. Crack a small amount of sea salt on the tops of the chocolate covered almond.
4. Refrigerate for 15 minutes then store in a cool place.
5. Get a scoop of your favourite vanilla ice cream and top it with these delicious treats.
Subscribe to:
Posts (Atom)