Showing posts with label cookbook. Show all posts

Sunday, 31 March 2013

35 Calorie Banana Oat Cookies

WOW! These cookies took no-time at all, it only takes two ingredients and they are healthy. One cookies is only 35 calories (without chocolate chips)or 60 calories (with chocolate chips.) I was pleasantly suprised when I took a bite of these, they actually tasted pretty good. 


I was on pinterest one night and I saw these cookies, they popped out to me, I thought "healthy cookies? there's no such thing!" but when you do the math these are like the equivalent of about 2 saltine cracker. Pretty helpful when you are trying to cut back on sweets. Since I started this blog I have been making a lot of desserts and even hough I work-out a couple times a week, I still find it hard sometimes to stay fit. This recipe was a gift sent from the food gods and when ever I get those pesky cookie craving I will make these instead. 
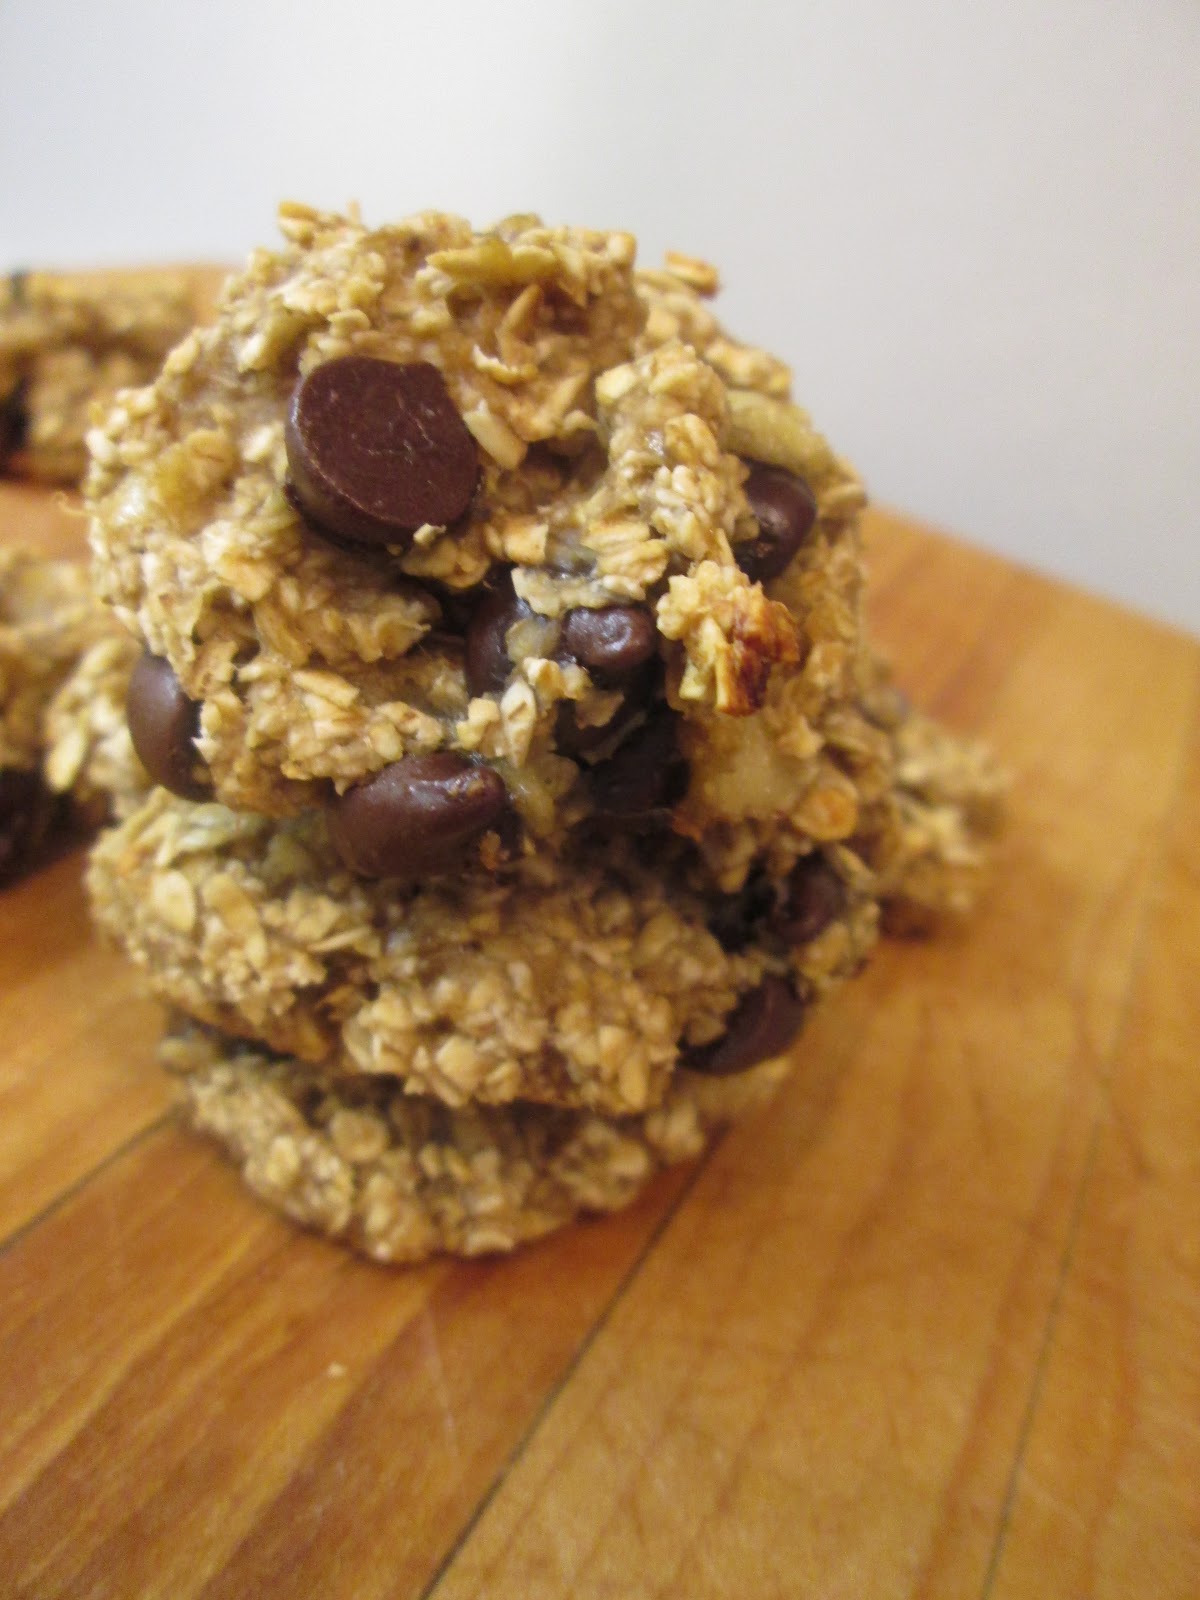
Yields: 12 cookies
Prep time: 5 minutes
total time: 20 minutes


Ingredients
2 ripe bananas
1 cup oats
1/4 cup chocolate chips (optional) 

Directions
1. preheat oven to 350F and line 1 cookies sheet with parchment paper.

2. In a medium bowl mash together all of the ingredients with a fork.

3. Roll into 12 medium sized cookies and bake for 15 minutes. Cool and enjoy.

NOTE: These are good cookies to freeze and grab 2 when your in a hurry.  

Adapted from http://pinterest.com/pin/30399366207289117/

Monday, 11 March 2013

Homemade Peanut Butter Bites

These little peanut butter bites are super easy and they taste just like the Reese's Peanut Butter Cups. These little guys are a no-brainer!


 I made these one day while I had a cheesecake was in the oven. They were pure experimentation but they turned out pretty awesome. You might recognize the melted chocolate recipe from an earlier post on chocolate covered almonds.


Yields: 12 small bites 
Prep time: 5 minutes
Total time: 20 minutes

Ingredients
  • 1/3 cup natural peanut butter (no additives)
  • 1/3 cup confectioners sugar
  • 1/3 cup all-purpose flour
  • 1/2 cup semi-sweet chocolate chips
  • 1/2 tablespoon canola oil
Directions

1. Prepare a plate with a sheet of wax paper on top for the peanut butter bites to be rested on.

2. In a small bowl mix together peanut butter, confectioners sugar and flour. Mix until combined and set aside.

3. In a microwave safe bowl, put the chocolate chips and canola oil in the microwave and heat for 20 seconds. Stir and heat for another 20 seconds. Stir again and then give it another 20 seconds if needed.

4. Roll the peanut butter mixture into small 3/4 inch balls and dip in chocolate using a spatula or spoon. Rest each one on the wax paper.

5. Refrigerate for 15 minutes. Store in the refrigerator for up to 5 days.


Monday, 4 March 2013

Simply Chocolate Cake


Chocolate cake is just one of those things that every dessert expert need to know inside and out! This is a fool proof recipe. Chocolate was first introduced into the world of food in 1500 BC  and ever since then it as been a major dessert staple across the world.


 My mother has been making this cake for as long as I can remember. I asked her why this is her favourite chocolate cake recipe and she told me it was because it's the easiest thing, she likes it because she never has to worry about melting the chocolate as it uses cocoa powder. It use oil instead of stressing about melting the butter right. I thought I would share this with you because it not only is one of the easiest cakes but one of the tastiest ones as well.

Serves: 12
prep time: 10 minutes
Total time: 1 hour

Ingredients 

  • 2 cups sugar
  • 1-3/4 cups all-purpose flour
  • 3/4 cup cocoa
  • 1-1/2 teaspoon baking powder
  • 1-1/2 teaspoon baking soda
  • 1 tsp salt
  • 2 eggs
  • 1 cup milk
  • 1/2 cup vegetable oil
  • 2 teaspoon vanilla extract
  • 1 cup boiling water
Directions

1. Preheat oven to 350F. Spray 12-cup Bundt pan with non-stick spray.

2. With the flat paddle attachment, stir together sugar, flour, cocoa, baking powder, baking soda and salt in the bowl of your electric mixer. Add the eggs, milk, oil and vanilla, beat on medium speed for 2 minutes. On the stir speed add the boiling water. This will make the batter very thin and runny. 

3. Pour batter into pan. Bake for 50 to 55 minutes. Let cool for 10 minutes before removing from pan. Let cool completely. Once the cake has cooled, top with icing sugar (optional). 


Sunday, 3 March 2013

Peanut Butter Cookies

If you are looking for a fast cookie that never fails to impress then you have found it. Peanut butter cookies can sometimes be too hard but these ones are just right! 


 This weekend I didn't have as much homework as I usually do, so I planned to meet up with two friends to go to the art gallery! I woke up late and only had an hour to get ready, but I still really wanted to bake something to take along for the drive. Since I only had an hour before they came to pick me up, I decided to try these cookies out. They were super fast and both of my friends ended up asking me for the recipe because they both liked them so much. I am not sure which was better, the cookies or the art show. 

Yields: 4 dozen
Prep time: 10 minutes
Total time: 30 minutes

Ingredients
  • 1/2 cup peanut butter
  • 1/2 cup butter, softened
  • 1/2 cup granulated sugar
  • 1/2 cup brown sugar
  • 1 egg
  • 1/2 teaspoon vanilla
  • 1/2 teaspoon baking soda
  • 1/4 teaspoon salt 
  • 1-1/4 cups all-purpose flour
Directions
1. Preheat oven to 375F and line two cookie sheets with parchment paper.

2. Put the peanut butter and butter in the bowl of your electric mixer. Beat until smooth on medium for about 1 Minute. Stop and scrape bowl. Add the sugars, egg and vanilla. Reduce the mixer speed to medium-low and mix for 1 minute. Stop and scrap bowl.

3. Turn the mixer on to stir and add the rest of the dry ingredients into the mixture. Turn back to medium-low and mix for 30 seconds.

4. Roll the cookie dough into 1-inch balls. Place 12 balls on a sheet at a time. Press down the cookies with your thumb or a fork. (I used a fork.)

5. Bake for 10-12 minutes or until the cookies are golden brown. Remove the cookies from the sheet immediately and let them cool.


This recipe is originally from the KitchenAid Best-Loved Recipes cookbook.

Friday, 1 March 2013

When Life Gives You Lemons... Make Lemon Bars

Not only are lemon bars easy but everybody remembers having them at some point in their childhood. It was in the 1970's that everybody really got bitten by the lemon bar bug. They were everywhere (so my mother tells me). The memorable combination of heart warming short bread and sweet lemon curd on top is something you can't easily forget.

Ever since I was young, lemon bars were the basic essential to any tea party I went to! Whether it be with my great aunts or my stuffed animals, lemon bars have been a big part of it. These sweet treats hold a special place in everyones heart! This is why I love making them. 

Yields: 16 squares
Prep time: 15 minutes
Bake time: 35 minutes


Ingredients

For the Crust
1/2 cup unsalted butter, softened
1 cup all-purpose flour
1/4 heaping cup confectioners sugar
1 tablespoon cornstarch
Pinch of salt, optional
For the Filling
2 large eggs
1 cup granulated sugar
1/2 cup lemon juice (about 2 medium size lemons)
2 tablespoon milk
1/2 teaspoon vanilla extract
2 tablespoon all-purpose flour
2 teaspoon lemon zest
Confectioners sugar, for dusting


Directions

1. Preheat oven to 350F. Line an 8-by-8-inch pan with aluminum foil, spray with cooking spray and set aside.

2. Start with the crust. In a large bowl, combine all the crust ingredients and add the butter. Mix until the mixture looks crumbly. You can use a spoon or fork or even your hands for this.

3. Transfer the crust mixture into the pan and press down with your fingers to make an even crust. Make 12 pokes in the crust with a fork to prevent air bubbles. Bake for 12 - 15 minutes.

4. While the crust is in the oven you can start the filling. In      a large bowl, combine the sugar, lemon juice, eggs, milk and vanilla. Whisk until smooth. Add the flour then mix until the the lumps are evenly combined. Last whisk in the lemon zest.

5. Bake for 15 - 20 minutes. You know it is done when it is no longer runny and firm to the touch. Remove from oven.

6. Let the bars cool at room temperature for 10 minutes and then cover pan and refrigerate for 1 hour.

7. When the bars are cool, you can dust some confectioners sugar on the top.

8. Carefully lift the foil out of the pan and cut into 16 squares. Enjoy :)